Skip to content

Navigation Markers Explanation

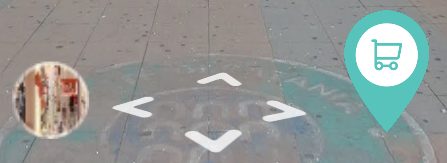
Navigation markerWhen a visitor clicks on a Navigation marker in the virtual tour, it will lead you to a next panorama. 

We provide a 3 different types of Navigation marker which will change the current panorama. 

  • Lense Navigation marker
  • Arrow Navigation marker
  • Simple Navigation marker

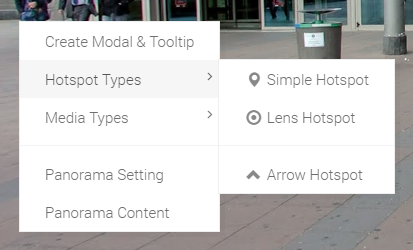
First, you need to click your second mouse button to open tools menu. From this tool you can see "Navigation marker Types" menu, which have 3 submenus looks like image on left side. 

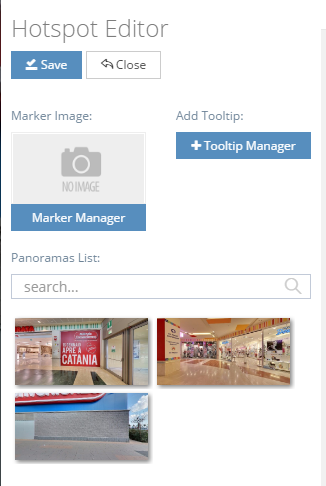
When you click a "Simple Navigation marker" menu you can see the options related with this. 

Here is the explanation of it's options. 

  • Marker Image: Every "Simple Navigation marker" must have a Image. We provide you a almost 500 marker image. So you can choose your marker image from there or you can upload your own custom marker image in here. 
  • Add Tooltip: With this option you can add tooltip information on your Navigation marker. Tooltip will become a appear when you hovers your Navigation marker. 
  • Panoramas List: In this section you can select your pointing panoramic image when the visitor click on your Navigation marker. 

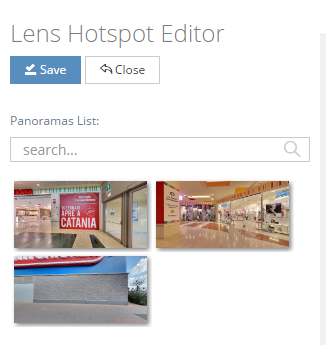
When you click a "Lense Navigation marker" menu you can see the options related with this. 

Here is the explanation of it's options. 

  • Panoramas List: In this section you can select your pointing panoramic image when the visitor click on your Navigation marker. 

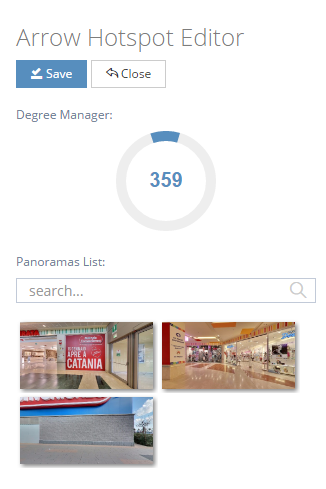
When you click a "Arrow Navigation marker" menu you can see the options related with this. Arrow Navigation marker is one of our unique feature. 

Here is the explanation of it's options. 

  • Degree Manager: You can change your arrow head into any degree in this option. 
  • Panoramas List: In this section you can select your pointing panoramic image when the visitor click on your Navigation marker.